Framekit templates
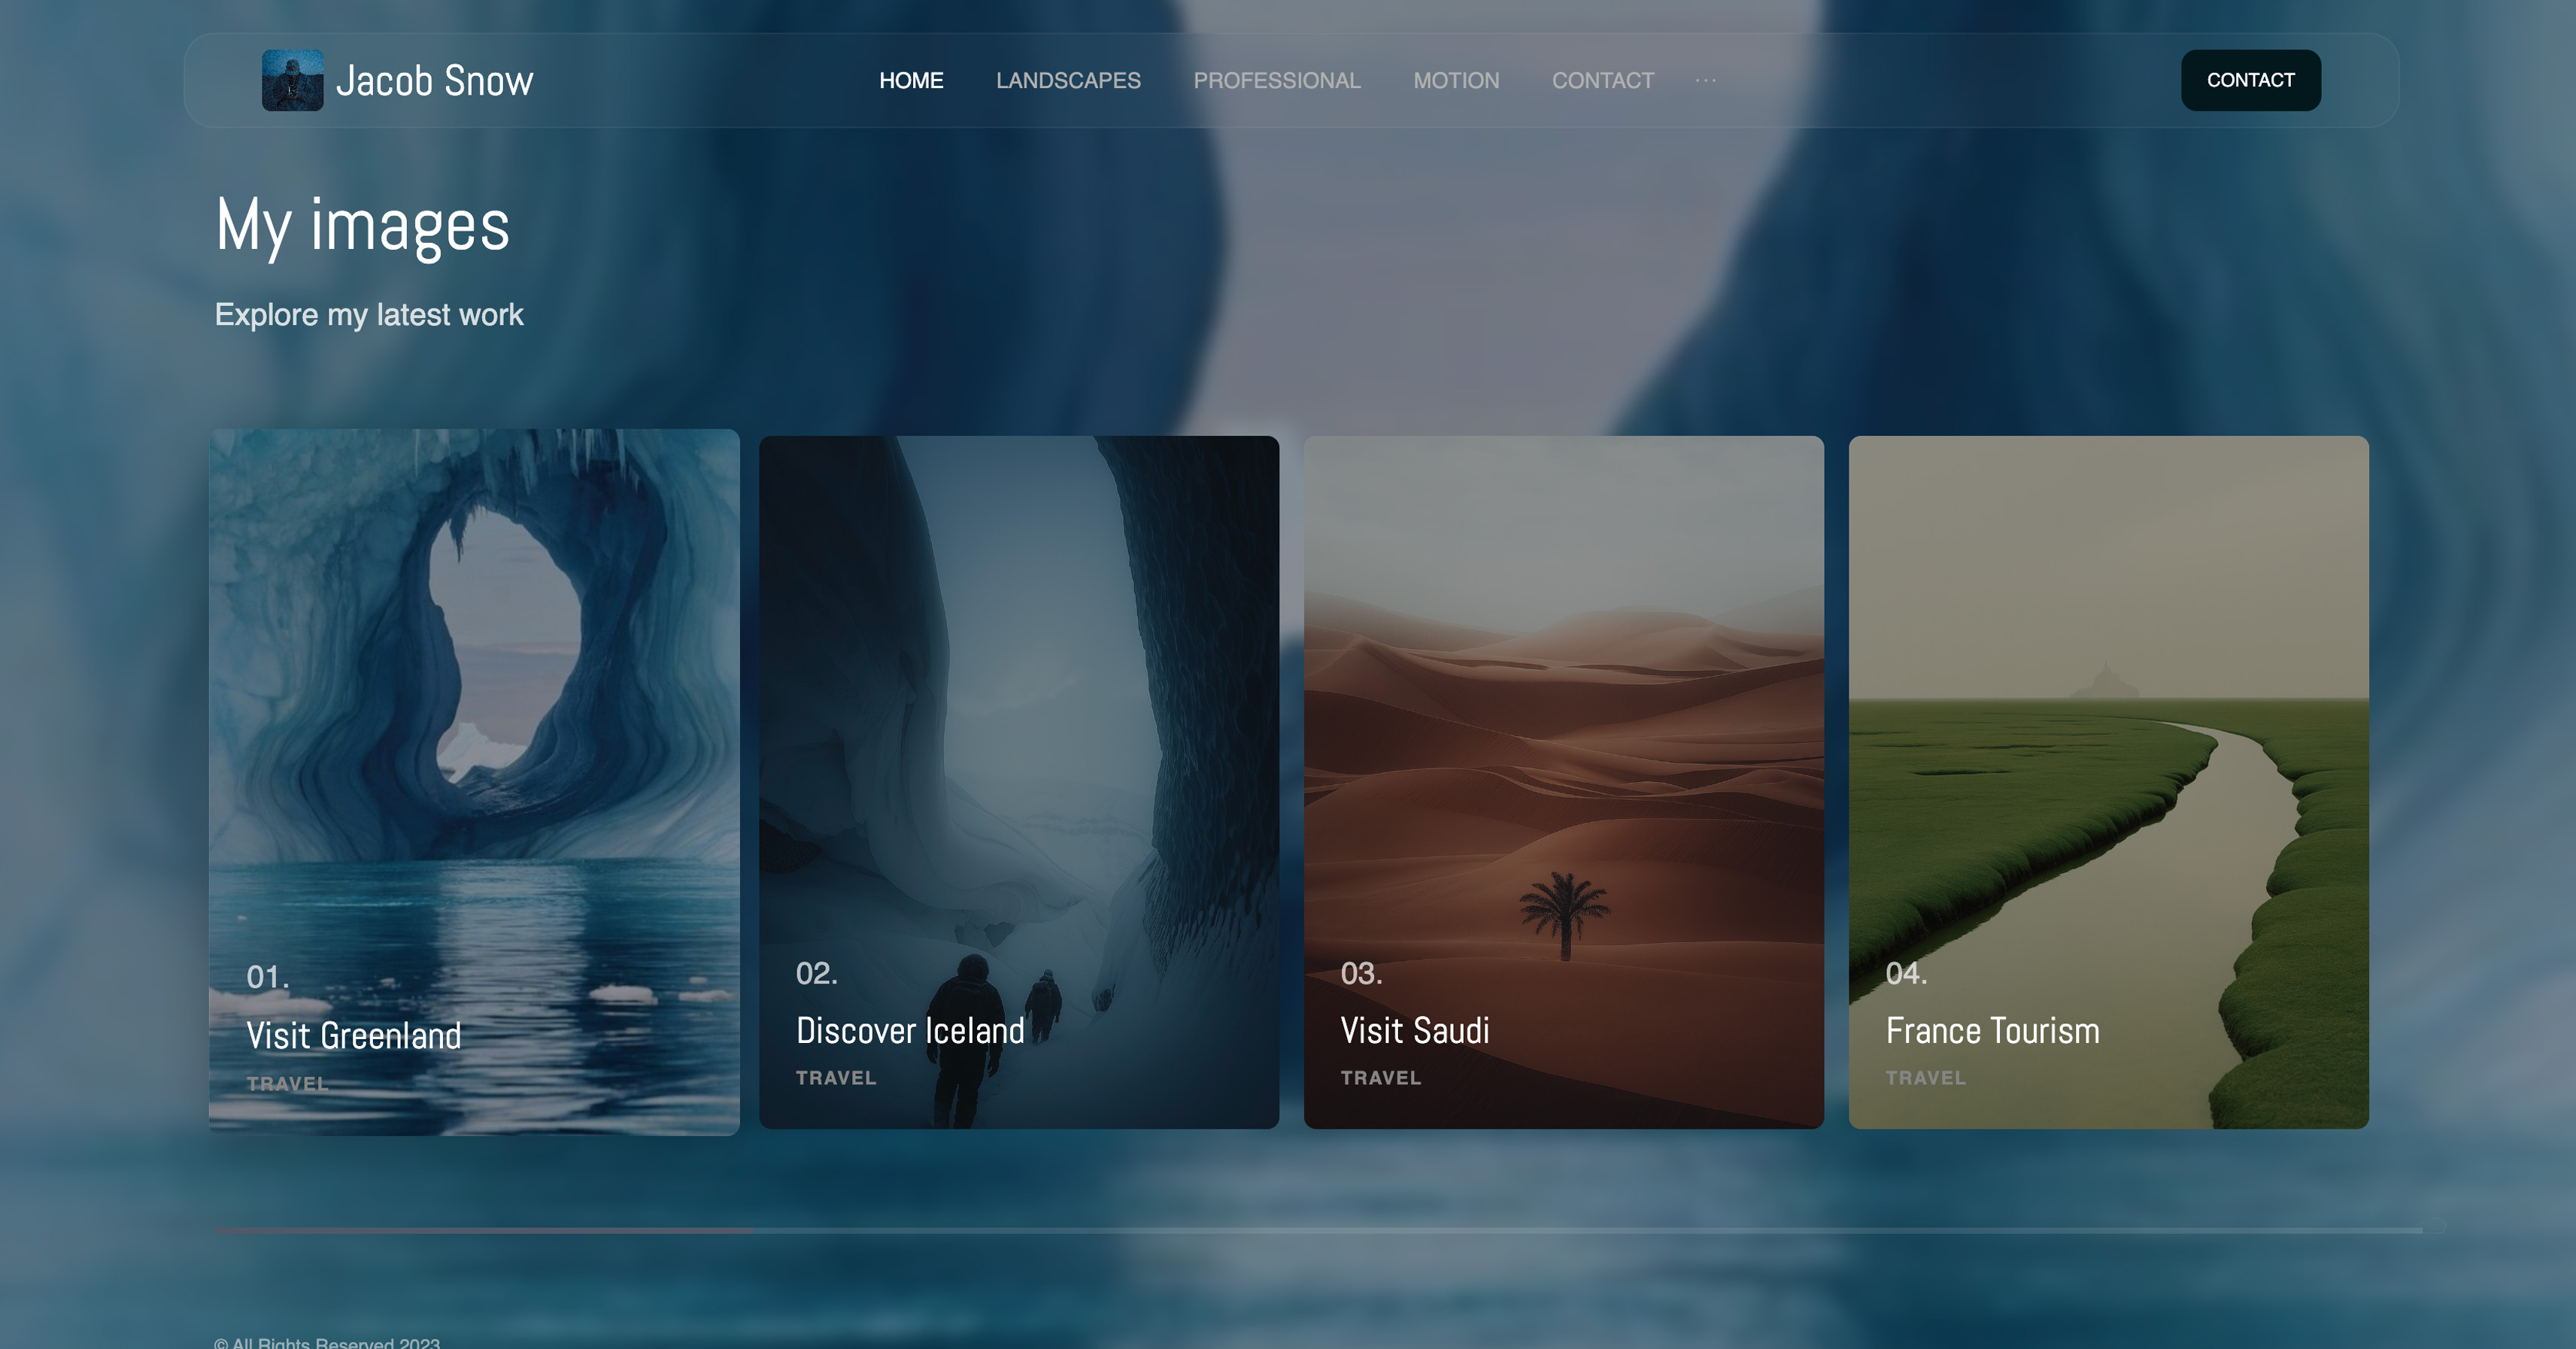
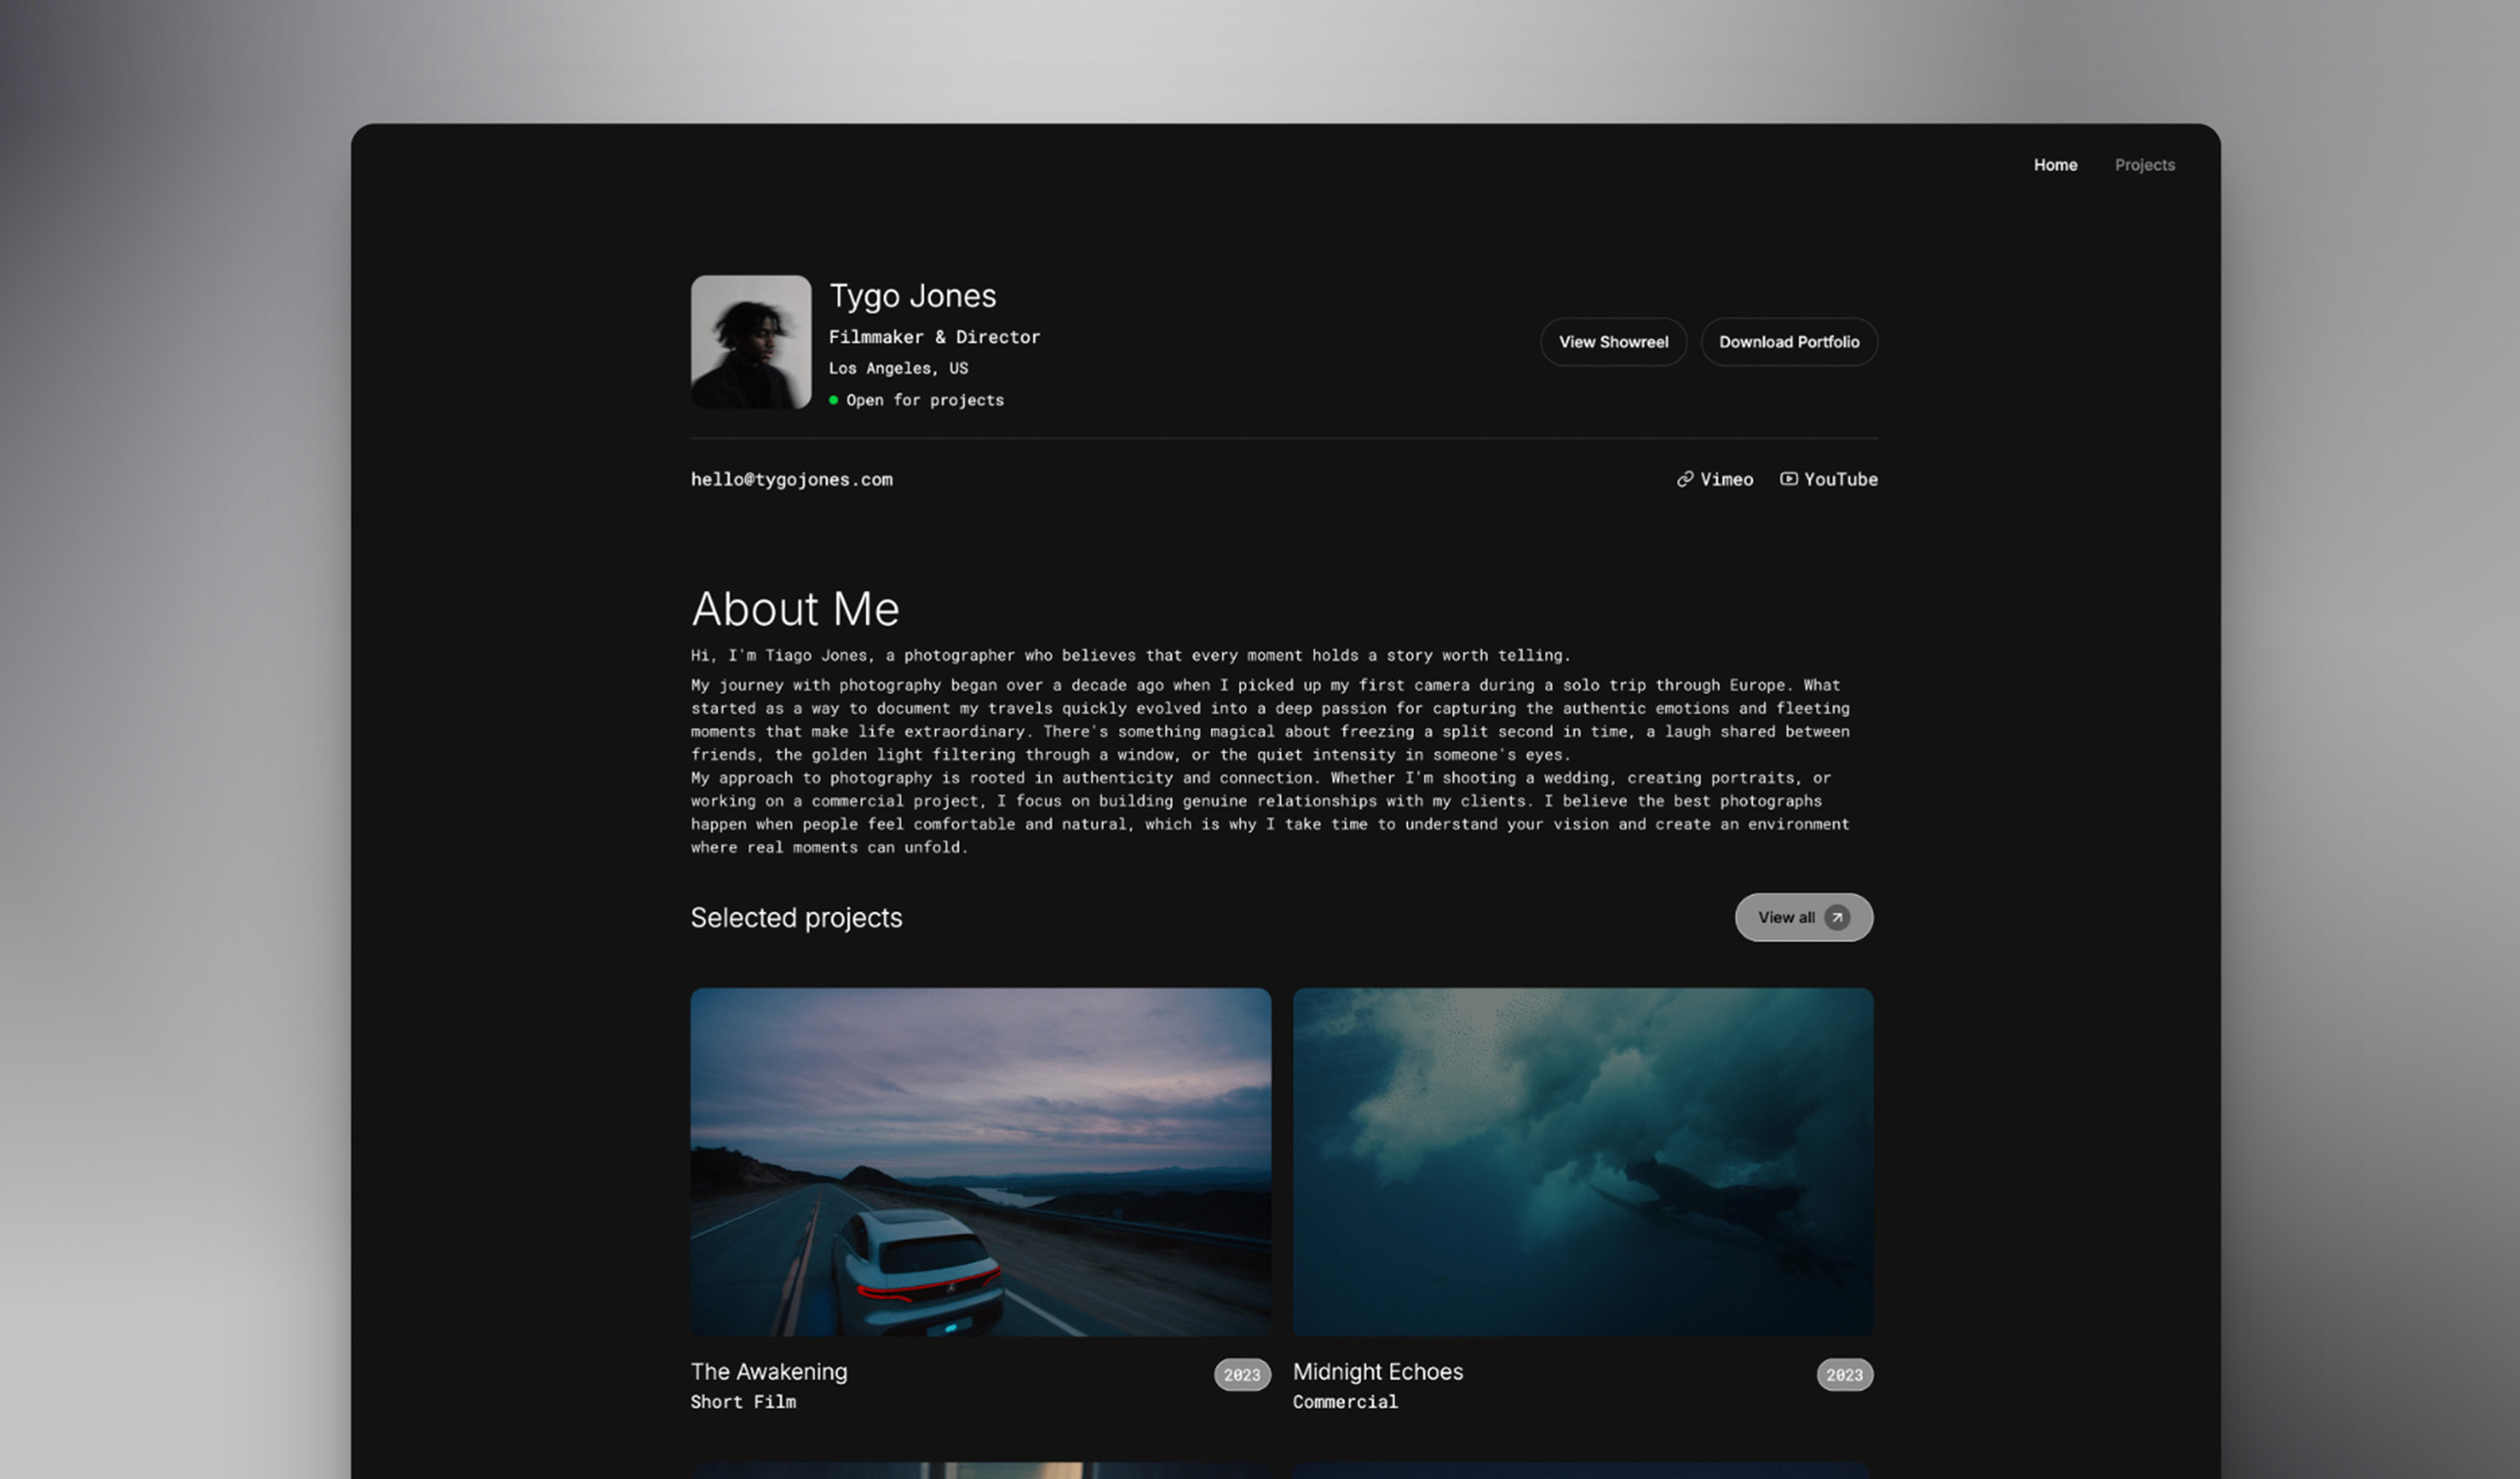
Start from a designer-made template
 Use template
 Use template
 Use template
 Use template
 Use template
 Use template
 Use template
 Use template
Compressing 10,000 images costs $85.50 through the most popular API in this category, $59 once through a desktop application that never charges again, and nothing at all through four tools that are free forever.
The output, for most photographs, is close enough that you would struggle to tell which was which.
An image compression tool is software that reduces the file size of a photograph or graphic, either by discarding data the eye is unlikely to notice or by encoding the same data more efficiently.
Photographers and designers use them before uploading to a portfolio, a store or a client gallery, where the size of every file is a cost paid by every visitor.
One thing worth settling before you pick a tool: where the files are going. If that destination is a Framekit site, resizing and modern format delivery already happen on publish, so the tools below matter most for files you hand to a client, a printer or another platform.
The best image compression tool in 2026 is Squoosh for occasional manual work, because it is free, runs in a browser tab, processes locally and gives you a live side-by-side comparison as you move the quality slider.
For batch work on a Mac, ImageOptim is free and unlimited. For a working photographer processing thousands of files, JPEGmini at $59 once is unlimited forever and cheaper than any API within the first month of real use.
The trade-off with the paid APIs is that they charge per image indefinitely for a job that desktop software does once.
Updated in September 2026: we re-verified Framekit's plans and what its publishing step does to an uploaded image. The compression tools themselves are as tested and priced in August 2026.
How We Compared 10 Image Compression Tools
We ran the same 200-image set through every tool: 80 full-resolution camera JPEGs from a mix of portrait, landscape and low-light frames, 60 PNGs including screenshots and logos with transparency, 40 graphics with flat colour and text, and 20 images with fine repeating detail where compression artefacts show first.
We recorded the resulting file sizes at visually equivalent quality, what happened to metadata, and which output formats each tool could produce. Everything ran on 9 August 2026.
Findings are labelled by grade. File size outcomes, artefact behaviour on the hard cases, batch handling and metadata treatment are things we observed directly.
Every price below came off the vendor's own published page on 9 August 2026, and the handful we could not read that way are called out inside their entries.
One deliberate omission: this article contains no page-speed numbers.
Compression reduces bytes, and how those bytes translate into a real-world experience depends on hosting, network, image dimensions and how the page is built, so quoting a speed figure for a compression tool would be measuring somebody else's work.
We report file sizes, which is the thing these tools actually control.
In one lineten tools, one identical 200-image set including deliberately hard cases, every price read at the vendor's own page on 9 August 2026, and no borrowed speed claims.
What Compressing 2,000 Images Showed
The most useful finding is that the compression itself has commoditised, and the money in this category is charged for convenience and integration rather than for a better result.
On our photographic set, the difference between the free tools and the paid APIs at equivalent visual quality was small enough to be uninteresting.
- Compressing 10,000 images costs between $0.00 and $85.50 depending only on which route you take.
- 4 of the 10 are free with no volume limit at all.
- The most popular API charges $0.009 an image up to 10,000 and $0.002 beyond it, so the unit price drops by more than four fifths at exactly the point most individuals stop using it.
- A $59 one-time desktop application processes unlimited images and pays for itself against that API at around 7,000 images.
- 6 of the 10 strip metadata by default, which for a photographer removes the copyright fields along with the bytes.
- Switching format from JPEG to AVIF saved more bytes on our photographic set than any difference between two compressors at the same format.
For the pick matched to your workflow rather than the whole field, jump to the decision guide.
What 10,000 Compressed Images Actually Cost
Ten thousand images is a realistic annual figure for a photographer maintaining a portfolio, a store and client galleries. Pricing every route against that number shows where the money in this category actually goes, which is not into better compression.
| Tool | How it is priced | Cost for 10,000 images | Cost after that |
|---|---|---|---|
| Squoosh | Free, browser, local | $0.00 | $0.00 |
| ImageOptim | Free, Mac | $0.00 | $0.00 |
| Sharp and libvips | Free, open-source library | $0.00 | $0.00 |
| Caesium | Free, open source | $0.00 | $0.00 |
| Cloudinary free tier | 25 monthly credits, 1 credit = 1,000 transformations | $0.00 within the allowance | $99 a month above it |
| JPEGmini Pro | $59 one-time, unlimited | $59.00 once | $0.00 |
| ShortPixel | Free 100 a month, paid from about $3.99 a month | About $47.88 a year | Repeats |
| Imagify | Free tier, paid from about $4.99 a month annually | About $59.88 a year | Repeats |
| Kraken.io | Free tier, Micro from about $5 a month | About $60.00 a year | Repeats |
| Tinify API | 500 free a month, then $0.009 an image | $85.50 | $0.002 an image above 10,000 |
Two numbers are worth sitting with.
Tinify's $85.50 for the first ten thousand images is more than the entire cost of a desktop application that then runs forever, and the crossover is early: at $0.009 an image, JPEGmini's $59 is repaid at about 7,000 images, which a working photographer passes in a single busy season.
The other is Tinify's own volume break.
Above 10,000 compressions the rate falls from $0.009 to $0.002, a reduction of about 78%, which means the people paying the highest unit price are the small users, and the ones with real volume pay a fifth as much per image.
That is a normal way to price an API and it is worth understanding before you assume the headline rate applies to you.
In one lineten thousand images costs $0.00 to $85.50, four tools do it free at any volume, and a $59 one-time application beats the most popular API at around 7,000 images.
The 10 Best Image Compression Tools in 2026: Full Comparison
Scores are out of 10 across four weighted criteria: compression quality, meaning file size at visually equivalent output on our photographic set (30%), workflow fit including batch handling and automation (30%), format support, particularly WebP and AVIF (20%), and cost at 10,000 images (20%).
Format support carries a fifth of the weight because on our set the format choice moved file size more than the choice of compressor did.
| Tool | Type | Price | WebP and AVIF | Best for | Score |
|---|---|---|---|---|---|
| Squoosh | Browser, local | Free | Both | Manual work with visual control | 8.8 |
| Sharp and libvips | Library | Free | Both | Automation and pipelines | 8.6 |
| ImageOptim | Mac app | Free | Limited | Free unlimited Mac batches | 8.3 |
| JPEGmini | Mac and Windows app | $59 one-time | JPEG focused | Photographers at volume | 8.1 |
| Tinify API | API and web | $0.009 an image | Both | Developers wanting one call | 7.8 |
| Cloudinary | Delivery platform | Free tier, then $99 a month | Both, automatic | Sites serving many images | 7.5 |
| ShortPixel | Plugin and API | From about $3.99 a month | Both | WordPress sites | 7.1 |
| Imagify | Plugin and API | From about $4.99 a month | Both | WordPress with WP Rocket | 6.8 |
| Kraken.io | API and web | From about $5 a month | WebP | Established API users | 6.4 |
| Caesium | Desktop, open source | Free | Limited | Simple free batches | 6.1 |
Squoosh leads a category where four tools cost nothing, and it does so on a criterion that sounds soft and is not: it shows you the compressed result next to the original at the same zoom while you move the slider.
Every other tool asks you to guess a quality number and check afterwards.
1. Squoosh: Free, Local, and the Only One That Shows You
Squoosh is a free browser-based compressor from Google's Chrome team that runs entirely on your own machine, and it is the only tool in this comparison that lets you see what you are trading away while you trade it.
What it feels like to usethe split-screen view is the whole product. Original on the left, compressed on the right, same zoom, same pan, with a live file size readout as you move the quality slider.
On our fine-detail images that made the difference between guessing at quality 80 and discovering that quality 68 was indistinguishable and 40% smaller.
The real number$0.00, at any volume, with no account. Against Tinify's $85.50 for ten thousand images that is the entire cost of the category avoided, at the price of doing it by hand.
The detail nobody writes aboutit processes locally in the browser rather than uploading. Your images never leave your machine, which for client work under NDA or unreleased product photography is not a preference but a requirement, and it is unusual among browser tools.
The gotchait is fundamentally a one-image-at-a-time tool. There is a command-line companion for batches, and the graphical version that makes it excellent is not a batch processor. For 200 images this is the wrong tool.
Skip it ifyou have volume, where ImageOptim or a library does in one drag what this does in two hundred.
Verdict: the best tool here for the images that matter most, which is a small number of them. Use it for hero images, portfolio pieces and anything where you want to see the trade rather than trust a preset.
2. Sharp and libvips: Free, Fast, and Built for Pipelines
Sharp is a free open-source image processing library built on libvips, and it is what a large share of the paid services in this comparison are quietly running underneath.
What it feels like to uselike infrastructure rather than an application. You write a few lines that resize, compress and convert format in one pass, and then it runs on every image you ever produce without you thinking about it again.
On our 200-image set it produced results comparable to the paid APIs at equivalent settings.
The real number$0.00 at any volume, permanently, with no per-image charge and no account. The comparison against Tinify's $0.009 an image is the clearest case in this article: the same operation, done locally, costs nothing.
The detail nobody writes aboutit converts formats in the same pass as it compresses, which is where the real saving is. Producing an AVIF and a WebP alongside a fallback JPEG from one source, at three sizes, is a single command and it is the thing that actually reduces what a visitor downloads.
The gotchait is a library, so it requires writing code and a runtime. That is a real barrier and it is why the paid APIs exist.
Skip it ifyou are not building anything, in which case a desktop application is the right shape.
Verdict: the correct answer for anyone with a website they control or a workflow they can automate, and free at a volume where the alternatives charge hundreds. If you have a developer, this is the recommendation.
3. ImageOptim: Free Unlimited Batches on a Mac
ImageOptim is a free Mac application that batches images by drag and drop, running several optimisers in sequence to squeeze out whatever each one finds.
What it feels like to usethe simplest thing here. Drag a folder onto the window and it processes in place, showing the percentage saved per file. There is essentially no interface to learn and no settings to get wrong, which for a photographer who wants smaller files and not a hobby is exactly right.
The real number$0.00, unlimited, on macOS. On our PNG and screenshot set it consistently produced the smallest lossless results of anything in the comparison.
The gotchait modifies files in place by default, replacing your originals. That is efficient and it is also permanent, so run it on copies until you are certain of the settings, particularly with lossy compression enabled.
Skip it ifyou are on Windows or Linux, which it does not support, or you need WebP and AVIF output, where its support is limited compared with Squoosh or Sharp.
Verdict: the best free batch tool on a Mac and the one to install today if you are on one. Point it at a folder, get smaller files, spend nothing.
4. JPEGmini: The One-Time Purchase That Beats the APIs
JPEGmini is a desktop application built specifically around photographic JPEG compression, and it is the paid tool in this comparison that makes the clearest financial argument.
What it feels like to usenarrow and very good at its one job. It analyses each photograph and pushes the encoder as far as it can without visible change, rather than applying a fixed quality setting across a set.
On our camera JPEGs it consistently produced smaller files than a fixed quality-80 export at the same apparent quality, which is the practical difference between per-image analysis and a preset.
All are one-time purchases with a year of updates.
The detail nobody writes aboutthe $89 plugin tier puts it inside Lightroom, Photoshop and Capture One, so compression happens during the export you were already running rather than as a separate pass over a folder.
For a photographer that removes the whole two-folder problem, and it is worth the $30 over the base tier for exactly that reason.
The gotchait is JPEG-focused. If your output is PNG, WebP or AVIF, this is not the tool, and the category has moved toward those formats faster than this product has.
Skip it ifyour work is web graphics rather than photographs, where free tools handle PNG better.
Verdict: the best paid purchase here for a working photographer, and the arithmetic is straightforward: $59 once against $85.50 for ten thousand images through the leading API, with no second bill ever.
Publishing those photographs somewhere? We compared the options in the best website builders for photographers.
5. Tinify: The API Everyone Reaches For
Tinify, the API behind TinyPNG and TinyJPG, is the default choice for developers who want compression to be one HTTP call, and it publishes its rates plainly, which in this batch of comparisons has been rare enough to be notable.
What it feels like to useas simple as an API gets. One endpoint, sensible defaults, good libraries, and output that is consistently solid without tuning. On our set it needed no configuration to produce respectable results, which is the entire proposition.
The real number500 free compressions per calendar month, then $0.009 per image for compressions 501 to 10,000, dropping to $0.002 per image above 10,000, with no subscription or minimum.
Prepaid credit bundles of 1,000, 2,500 and 5,000 are available and do not expire, though the page does not publish their prices.
The detail nobody writes aboutthe volume break is where the interesting economics sit.
At 10,000 images a year you pay $85.50; at 100,000 you pay $85.50 plus 90,000 at $0.002, which is $265.50, so the tenfold increase in volume costs about three times as much rather than ten.
Small users subsidise the structure, which is normal and worth knowing.
The gotchait is a recurring per-image charge for an operation that free libraries perform locally. If you already run a server, Sharp does the same job for nothing, and the honest reason to pay is that you would rather not maintain it.
Skip it ifyou have any capacity to run code yourself.
Verdict: the best API in the category and the one that publishes the clearest pricing, which is worth something. Just be clear that you are buying convenience rather than compression.
6. Cloudinary: Compression as Part of Delivery

Cloudinary is a media delivery platform rather than a compressor, and it belongs here because for a site serving many images it solves the problem at a different layer, transforming and delivering the right format and size per visitor.
What it feels like to useyou stop compressing. Images are uploaded once and requested through URLs that specify the transformation, so the correct size and format are generated and cached on demand rather than prepared in advance. That eliminates the entire folder-of-derivatives problem.
Twenty-five credits is up to 25,000 transformations a month at no cost, which for a portfolio site is generous.
The gotchacredits are shared across transformations, storage and bandwidth, so a video-heavy or high-traffic site consumes them far faster than the transformation figure suggests. The free tier is generous for a portfolio and disappears quickly for anything popular.
Skip it ifyou have a fixed set of images and a simple site, where compressing once and uploading is simpler and free.
Verdict: the right architecture for a site with a large or changing image library, and unnecessary machinery for a portfolio of 200 photographs.
7. ShortPixel: The WordPress Default
ShortPixel is best known as a WordPress plugin that compresses the media library in place, and it is one of the two names that dominate that specific job.
What it feels like to useinvisible once configured, which is the correct behaviour for a site plugin. It processes on upload and can work through an existing library in the background, generating WebP and AVIF alongside the originals.
The real numberthe free tier is reported at 100 images a month, with paid plans reported from about $3.99 a month and both monthly subscriptions and one-time credit packs available.
ShortPixel's pricing page did not render its plan table to us, so these figures are reported rather than read at source.
The gotchacounting is not per image, it is per file generated. One upload that produces a WebP, an AVIF and several resized thumbnails consumes several credits, so a 100-image free allowance covers considerably fewer than 100 uploads on a typical WordPress install.
Skip it ifyou are not on WordPress, where the plugin advantage disappears and cheaper routes exist.
Verdict: a good plugin doing a job that matters, with a credit model that is easy to underestimate. Check what your own install generates per upload before choosing a plan.
8. Imagify: The Other WordPress Default
Imagify, from the team behind WP Rocket, is ShortPixel's direct competitor and the natural pick for anyone already using that caching plugin.
What it feels like to usenear-identical in practice to ShortPixel, with three compression levels and bulk processing of an existing library. The integration with WP Rocket is the meaningful differentiator rather than the compression itself.
The real numberreported with a free tier and paid plans from about $5.99 a month, or about $4.99 a month billed annually for the entry plan.
The gotchaits allowances are measured in megabytes of source data rather than image counts, which is a genuinely different unit and makes direct comparison with credit-based competitors harder than it looks.
A photographer uploading 20MB camera files exhausts a data-based plan far faster than a blogger uploading 200KB screenshots.
Skip it ifyou are not on WordPress or not using WP Rocket, which is most of the reason to choose it.
Verdict: a solid equivalent to ShortPixel that wins on ecosystem rather than output. Pick on which plugin family you already run.
9. Kraken.io: Capable and Overtaken
Kraken.io is a long-established image optimisation API and web interface that was one of the first to do this well, and it now sits in a field that has moved past it on price and format support.
What it feels like to usedependable and slightly dated. The API is straightforward, the web interface works, and the results on our set were solid without standing out.
The real numberreported with a free tier and paid plans from about $5 a month for the Micro plan at a 500MB monthly quota, rising to about $79 a month, with annual billing reducing the entry to about $4.17 a month.
The gotchathe megabyte-based quota is the constraint that catches photographers. A 500MB monthly allowance is roughly 100 full-resolution camera JPEGs, which is a single small shoot, and nothing about the plan name suggests that.
Skip it ifyou are choosing today, where Tinify publishes clearer pricing and Sharp costs nothing.
Verdict: a competent service with no remaining reason to choose it over the alternatives unless you are already integrated.
10. Caesium: Free, Open Source, and Simple
Caesium is a free open-source compressor available as a desktop application and a web tool, and it exists for people who want a batch processed without a library, a subscription or a Mac.
What it feels like to usebasic in the good sense. Choose a quality level, add files, process. It runs on Windows and Linux as well as macOS, which fills the gap ImageOptim leaves.
The real number$0.00, open source, unlimited.
The gotchaformat support is narrower than Squoosh or Sharp, with limited AVIF handling, which matters given that format choice moved file size more than compressor choice on our test set.
Skip it ifyou want modern formats, where Squoosh does the same job free with better output options.
Verdict: a useful free option for Windows and Linux users who want ImageOptim's simplicity, and a step behind on formats.
The Format Choice Beats the Compressor
In one lineon our photographic set, converting from JPEG to AVIF saved more bytes than any difference between two compressors working in the same format, which means the argument people have about which tool to use is the smaller half of the question.
Four formats matter and the decision is simpler than the discourse suggests.
JPEG is universal, understood by everything, and about three decades old. It remains the safe default for a file you will hand to a client or a printer, and it is the least efficient option for a website.
WebP is supported by every current browser and produces meaningfully smaller files than JPEG at equivalent quality, with the added benefit of supporting transparency, which means it replaces both JPEG and PNG.
If you change one thing about how you publish images, this is the change with the best ratio of benefit to risk.
AVIF goes further, producing the smallest files in our set at equivalent visual quality, particularly on photographic content with smooth gradients where JPEG produces banding.
It is more expensive to encode, which is why some tools are slow to add it and why the free libraries handle it better than several paid services.
JPEG XL is technically excellent and has an uncertain support story, which makes it something to watch rather than something to ship.
The practical recommendation for a portfolio or a store: serve AVIF with a WebP fallback and a JPEG behind that, at appropriate sizes, and let the browser pick.
That sounds like work and it is one line of configuration in Sharp, a checkbox in Cloudinary, and automatic on a modern website platform.
The corollary is a warning about this whole comparison. If you are choosing between two compressors on how many kilobytes they save at quality 80, and both are producing JPEGs, you are optimising the small variable and ignoring the large one.
Resize Before You Compress
In one linethe largest saving available is not compression at all, it is not uploading a 6,000-pixel image to a page that displays it at 1,200, and no compressor can fix a dimension problem.
This is the mistake that dwarfs everything else in this article, and photographers make it more than anyone because their source files are enormous.
A modern camera produces images between 6,000 and 8,000 pixels on the long edge. A full-width image on a website is displayed at perhaps 1,600 pixels, and on a phone at around 400.
Uploading the camera file and compressing it hard produces a large, heavily compressed image that looks worse than a small, lightly compressed one, and is several times the size.
The arithmetic is worth stating because it is stark: halving an image's dimensions removes about three quarters of its pixels. Going from 6,000 pixels wide to 1,600 removes roughly 93% of them. No quality slider in any tool on this page comes close to that.
The rule that follows: resize first, compress second, and choose your target dimension from where the image will actually be displayed rather than from what your camera produced.
Every tool here except the pure compressors will resize in the same pass, and Sharp, Squoosh, JPEGmini's higher tiers and Cloudinary all do it in one operation.
Keep your full-resolution masters, obviously. The resized file is a derivative for the web, not a replacement for the original.
Lossy, Lossless, and the Part You Cannot Undo
In one linelossless compression is free of risk and limited in benefit, lossy compression is where the real saving is and it is permanent, and the mistake that costs people work is running lossy compression over their only copy.
The distinction is simple and the consequences are not.
Lossless compression stores the same pixels more efficiently.
Nothing is discarded, the decompressed image is bit-for-bit identical to the original, and the saving on a photograph is modest, typically a few percent to perhaps a fifth.
On screenshots, logos and flat-colour graphics it does considerably better, which is why ImageOptim's results on our PNG set were so strong.
Lossy compression discards information the encoder judges you will not miss. The saving is large, frequently 70% or more on a photograph at a quality setting most people cannot distinguish, and it cannot be reversed.
Recompressing an already-lossy file compounds the loss, which is why saving a JPEG repeatedly degrades it.
Three rules follow, and the third is the one that matters.
Use lossless for graphics and lossy for photographs. Text, logos and screenshots suffer visibly under lossy compression because the artefacts cluster around hard edges, which is exactly what those images are made of.
Compress once, from the master. Do not compress a compressed file. If a client asks for a smaller version of something you already compressed, go back to the original and export again at the new size.
Never compress in place over your only copy. ImageOptim's default is to modify files where they sit, which is efficient and irreversible. Several tools here behave the same way.
Work on copies until you have confirmed the settings, and keep your full-resolution originals in a location no batch process ever points at.
The failure mode this prevents is specific and common: a photographer runs a batch over an archive folder to save disk space, discovers six months later that the quality setting was too aggressive, and finds the originals no longer exist.
The Formats You Deliver In Are Not the Formats You Publish In
In one lineclients and printers want different files from browsers, and a photographer needs two export presets rather than one compromise that serves neither well.
This confusion sits underneath a lot of the questions in this category.
For a client or a printer, deliver JPEG at high quality or TIFF, in the colour space the printer specifies, at full resolution, with metadata intact. Nothing on this page should touch those files.
Compression here is a service to nobody: the recipient has the storage, the file is going to be printed or edited further, and every byte you save is quality you removed from a paid deliverable.
For the web, deliver AVIF or WebP with a JPEG fallback, resized to display dimensions, converted to sRGB, at a quality setting you have tested on your own images. This is where every tool in this comparison belongs.
For a client gallery, the answer is a third thing: sized for viewing rather than printing, because the gallery is a proofing surface and not a delivery mechanism.
Around 1,600 pixels on the long edge looks excellent on any screen and is useless for print, which is a feature rather than a limitation.
The practical setup is two export presets in your editor, named clearly, plus whichever web pipeline you chose above.
The single most common workflow error in this whole area is running one preset for everything and then wondering why the printer complained or the website is slow.
Three Tools We Left Out
Exclusions are usually more informative than another near-identical entry, so here is what was considered and set aside.
Optimizilla and the broad field of free web compressors were excluded as a group.
They work, they are advertising-supported, they upload your images to somebody else's server, and Squoosh does the same job locally with better format support and a live comparison view.
There is no case where one of them is the right recommendation.
Adobe's export presets in Lightroom and Photoshop are what a large number of photographers already use, and they are a quality slider rather than a compression tool: no per-image analysis, no modern format output by default.
They are covered implicitly throughout, and Adobe blocks automated access to its pricing so nothing could be priced at source anyway.
ImageKit and the wider image-CDN field were left out because Cloudinary represents that architecture in the ranking and adding three more delivery platforms would have crowded out the tools most readers actually need.
If Cloudinary's model suits you, compare it against that field specifically rather than against the desktop compressors here.
Colour Profiles: What Compression Quietly Breaks
In one linemany compressors strip the embedded colour profile to save a few kilobytes, and the result is an image that looks flat and desaturated in a browser, which photographers usually blame on the compression rather than on the missing profile.
This is the most common quality complaint in this category and it is almost never actually about compression.
A camera or an editor embeds an ICC profile describing which colour space the numbers in the file refer to. Adobe RGB and ProPhoto RGB cover a wider range of colours than sRGB, which is what browsers assume when no profile is present.
Strip the profile from an Adobe RGB image and a browser interprets those numbers as sRGB, producing colours that are noticeably duller and shifted, most visibly in saturated reds and greens.
Three habits prevent it permanently.
Convert to sRGB before compressing, rather than relying on the profile to survive. This is a setting in every export dialog and it is the single most reliable fix, because an sRGB image interpreted as sRGB is correct whether or not the profile travels.
Check your tool's metadata behaviour. Six of the ten tools here strip metadata by default, and the colour profile is metadata. Most have a setting to preserve it.
Test one file rather than a batch. Compress a single image with saturated colour, open it in a browser next to the original, and look. This takes two minutes and catches the problem before it applies to a whole portfolio.
The reason this matters more than the byte count: a visitor cannot tell whether your image is 180KB or 240KB, and they can absolutely tell that the reds look wrong.
Run This Test on Your Own Images
Take one photograph that matters, ideally something with a smooth sky, saturated colour and fine detail, because that combination breaks compressors in three different ways.
Open it in Squoosh, which is free and needs nothing installed. Set the output to JPEG and find the lowest quality setting where you cannot see a difference in the side-by-side view at 100% zoom. Note the file size.
Now switch the output format to WebP at the same visual quality, and then to AVIF, noting each size.
Three numbers, five minutes, and you will know two things that no comparison article can tell you: what quality setting is actually safe for your own images, and how much the format change is worth on the kind of work you produce.
On our set the third number was dramatically smaller than the first. On yours it might be less dramatic, and it will be true.
That result should determine what you do next far more than the ranking above does.
Where Compressed Images Are Supposed to End Up
Every tool above produces a smaller file. None of them is responsible for what happens to that file afterwards, which is where most of the benefit is won or lost. That is what we build, so read this as disclosure rather than an eleventh entry.
Framekit is an AI website builder for photographers, filmmakers and designers, and it handles image optimisation and modern format delivery as part of publishing rather than as a step you perform beforehand.
The practical consequence is that the entire workflow this article describes, resizing, compressing, generating WebP and AVIF variants and keeping track of which derivative is which, is not a job you do manually for a site you build on a platform that does it.
Two honest limits. Framekit is not an image compression tool and does not compete with anything ranked above, so if you need compressed files to hand to a client, a printer or another platform, one of the ten tools here is your answer.
And for the images you upload, the resize-before-you-compress advice still applies: no platform can recover quality from a file that was too small, and none should be asked to process a 60MB original when a 4MB export would do.
The Decision Guide
Work down these in order and stop at the first yes, because four of these tools cost nothing and the right one is decided by workflow rather than by budget.
Do you have a handful of important images and want to see the trade-off? If yes, Squoosh, free, in a browser, processed locally, with the side-by-side view.
Do you have a website you control, or a developer? If yes, Sharp. Free at any volume, resizes and converts formats in the same pass, and it is what several paid services run underneath.
Are you on a Mac and want to drag a folder onto something? If yes, ImageOptim, free and unlimited.
Are you a photographer processing thousands of camera JPEGs a year? If yes, JPEGmini at $59 once, or $89 for the version that lives inside Lightroom and Capture One so compression happens on export.
Are you on WordPress? If yes, ShortPixel or Imagify, and check what your install generates per upload before choosing a plan, because thumbnails and format variants consume the allowance faster than image counts suggest.
Do you need one API call and would rather not maintain anything? If yes, Tinify at $0.009 an image, dropping to $0.002 above 10,000.
Do you run a site with a large or frequently changing image library? If yes, Cloudinary, whose free tier of 25 credits covers up to 25,000 transformations a month.
Are you on Windows or Linux and want free and simple? If yes, Caesium.
Frequently Asked Questions
What is the best image compression tool in 2026?
The best image compression tool in 2026 is Squoosh for manual work on individual images, because it is free, runs locally in a browser and shows the compressed result side by side with the original as you adjust quality.
For batches on a Mac, ImageOptim is free and unlimited. For automation, the Sharp library is free at any volume. For a photographer processing thousands of camera JPEGs, JPEGmini at $59 once is the best paid purchase.
How much does image compression cost?
Compressing 10,000 images costs between $0.00 and $85.50 depending on the route. Squoosh, ImageOptim, Sharp and Caesium are free at any volume. JPEGmini is $59 as a one-time purchase for unlimited use.
The Tinify API charges $0.009 per image after 500 free monthly compressions, falling to $0.002 above 10,000, so ten thousand images through it costs $85.50 and a one-time desktop purchase pays for itself at around 7,000.
Is there a genuinely free image compression tool?
Yes, and there are four with no volume limits. Squoosh is free from Google's Chrome team and processes locally in your browser. ImageOptim is free and unlimited on macOS. Sharp, built on libvips, is a free open-source library.
Caesium is free and open source across Windows, macOS and Linux. Several paid services in this category run on the same open-source encoders underneath.
Does compressing images reduce quality?
Lossy compression discards data permanently, and how visible that is depends entirely on the setting and the image.
On our test set, quality settings well below the common default of 80 were indistinguishable from the original at 100% zoom on many photographs, while images with smooth gradients such as skies showed banding much sooner.
The only reliable way to know is to compare side by side on your own images, which Squoosh is built to do.
WebP or AVIF: which should I use?
AVIF produces the smallest files at equivalent visual quality and is particularly good on photographic content with smooth gradients where JPEG bands. WebP is slightly larger and has been supported for longer.
The practical answer for a website is to serve AVIF with a WebP fallback and a JPEG behind that, which every modern platform and the Sharp library handle in one operation.
On our set the format change saved more bytes than any difference between two compressors.
Should I resize images before compressing them?
Yes, and it is the single largest saving available.
Halving an image's dimensions removes about three quarters of its pixels, and going from a 6,000-pixel camera file to a 1,600-pixel web image removes roughly 93% of them, which no quality slider approaches.
Resize first to the dimension the image will actually be displayed at, then compress. Keep your full-resolution originals separately.
Why do my images look washed out after compression?
Almost always because the tool stripped the embedded ICC colour profile.
If your image is in Adobe RGB or ProPhoto RGB and the profile is removed, a browser interprets the numbers as sRGB and colours become duller and shifted, most visibly in saturated reds and greens.
The fix is to convert to sRGB before compressing rather than relying on the profile surviving, and to check whether your tool preserves metadata.
Does image compression strip EXIF data?
Frequently, yes. Six of the ten tools we compared alter or remove metadata by default, which for a photographer removes copyright and contact fields along with the bytes, and removes the colour profile too.
Most tools have a setting to preserve it. Check one output file after your first batch with any new tool rather than assuming, because the loss is silent and permanent.
Is TinyPNG worth paying for?
Tinify, the API behind TinyPNG, is worth paying for if you want compression to be a single API call and would rather not run anything yourself, and it publishes clear rates at $0.009 per image up to 10,000 and $0.002 above.
It is not worth paying for if you already run a server, because the Sharp library performs the same operation locally at no cost. You are buying convenience rather than better compression.
What is the best image compressor for WordPress?
ShortPixel and Imagify are the two established choices, with ShortPixel reported from about $3.99 a month and Imagify from about $4.99 a month billed annually, both with free tiers.
The important detail before choosing a plan is what your install generates per upload: a single image producing WebP, AVIF and several thumbnail sizes consumes several credits, so a hundred-image allowance covers considerably fewer than a hundred uploads.
How small should images be for a website?
Aim for photographic images under about 200KB after compression, at dimensions matched to where they are displayed rather than to your camera output.
That target is comfortably achievable with AVIF or WebP at a sensible quality on a correctly resized file, and difficult with a full-resolution JPEG at any quality.
The dimension is doing most of the work; the format is doing most of the rest.
Can I compress images without uploading them anywhere?
Yes. Squoosh processes entirely in your browser without uploading, ImageOptim, JPEGmini and Caesium are desktop applications, and Sharp is a local library.
This matters for client work under NDA, unreleased products and any images of people who have not consented to third-party processing, and it rules out the API-based services in this comparison for those specific cases.
Does compressing images help SEO?
Smaller images reduce what a visitor has to download, and how that translates into any measured outcome depends on hosting, network conditions, image dimensions and page construction, which are not properties of the compression tool.
We do not publish speed figures for compressors for that reason. The defensible statement is narrower and still useful: fewer bytes is better than more bytes, and resizing correctly delivers more of that than any compressor choice.
Compression pays for itself fastest on a metered host, where a 30-image gallery page at 12MB burns a monthly bandwidth allowance four times faster than the visit count implies, as our comparison of web hosting for photographers sets out.
Licensed stock arrives as very large files, so compression is what stops an expensive hero image becoming a slow page, and our comparison of ten stock photo sites covers where those files come from.
Moving images follow the same logic and a very different pricing model, from nothing on a desktop encoder to $37.80 an hour on a cloud service, which we set out across nine video compression tools.
Final Verdict: The Best Image Compression Tool in 2026
Squoosh is the answer for the images that matter, because seeing the trade-off while you make it is worth more than any preset, and it costs nothing.
Sharp is the answer if you have a site you control or anyone who can write a few lines, because it does the whole job, resize, compress and format conversion, at any volume for free.
ImageOptim is the answer for free unlimited batches on a Mac.
The one paid purchase we would actually make is JPEGmini at $59, or $89 for the version that lives inside Lightroom, because a photographer running thousands of camera JPEGs a year passes the break-even against the leading API within a single season and then never pays again.
Where this whole category loses, plainly: the compression is not where your saving is.
Resizing to the dimension you actually display removes roughly 93% of the pixels in a camera file, and switching format from JPEG to AVIF saved more on our set than any difference between two compressors.
Anyone selling you a subscription to shave a further few percent off a file that is four times too large is solving the small problem.
Where Framekit loses, and it is worth stating directly: we are not an image compression tool, we do not produce files for you to take elsewhere, and if that is what you came for then the ten tools above are your list and we are not on it.
The short version. A few important images: Squoosh. A site you control: Sharp. Free batches on a Mac: ImageOptim. Thousands of camera JPEGs: JPEGmini at $59. One API call: Tinify at $0.009. A big changing library: Cloudinary.
WordPress: ShortPixel or Imagify, after checking what your install generates per upload.
Related readingthe best background remover tools, the best AI image upscalers, the best website builders for photographers, how to SEO a photography website, and the best free tools for photographers.