Framekit templates
Start from a designer-made template
 Use template
 Use template
 Use template
 Use template
 Use template
 Use template
 Use template
 Use template
Learning how to create a client gallery properly takes one afternoon and saves you a support email after every job for the rest of your career. The mechanics are trivial on any modern platform: upload, name, protect, share.
What separates a delivery that works from one that generates questions is a handful of settings that nobody explains, and two of them are wrong on most photographers' galleries right now.
The first is download permissions. Viewing and downloading are separate settings, and photographers routinely deliver watermarked finals because a proofing setting was never switched off.
The second is expiry, which is off by default on almost every platform and should be on for proofs and off for finals, not the same for both.
Get those two right and the rest of this process is straightforward.
A client gallery is a protected web page that presents a finished set of photographs to a specific client, with selection and download built in, so the handoff looks like a deliverable rather than a file transfer.
To create a client gallery, choose a platform, upload full-resolution files, name the gallery after the client and date, set a password or PIN, decide separately whether downloads are allowed and whether a watermark applies, set an expiry only if it is a proofing round, then send a short delivery email with the link, the credential and the download instructions.
The whole process takes about twenty minutes. On Framekit galleries are uncapped on every plan including free, so you can create one per client at no extra cost, on your own domain.
Framekit lets you create unlimited client galleries on any plan, including the free one.
Full disclosure: Framekit is our own product, so the walkthrough below is written to apply on any platform and we name where other tools do a step better. We built this same gallery on several platforms in August 2026 and verified every price and limit against published pricing pages. Framekit's own limits were re-verified on 19 September 2026, which corrected its free and Starter storage and its accepted file types.
Step 1: Choose the Right Kind of Platform
Before uploading anything, decide which of the three products you actually need, because choosing wrong here is the only mistake in this process that costs money rather than time.
A delivery tool if the job is simply getting finished photographs to a client. PicDrop and Framekit both do this cleanly, and neither charges commission on delivery.
A gallery with a store if you sell prints. Pixieset, Pic-Time and ShootProof all sell through professional labs, and ShootProof charges 0% commission on every plan including the cheapest.
A gallery on your own website if the delivery link should build your brand rather than a vendor's. Framekit is the option here, since the gallery is a page of a site on your own domain rather than a vendor subdomain.
The practical test is where you want the client to end up. Every gallery link gets forwarded, and the page they open either markets your studio or markets a software company. If that matters to you, it constrains the choice before anything else does.
Step 2: Prepare and Size the Files
Get this stage right once and the same decisions apply to every gallery you build afterwards, which is why it is worth spending twenty minutes on it now rather than repeating the guesswork per job.
Deliver full resolution unless the contract says otherwise. Clients paid for usable files, and delivering web-sized JPEGs generates a request you will have to satisfy anyway.
Check your platform's per-file ceiling first: Framekit accepts originals up to 100MB per photo as JPEG, PNG, WebP or GIF, so a layered TIFF still has to go by cloud storage link.
Export as high-quality JPEG for delivery and reserve TIFF or raw for clients who specifically asked. A 900-image wedding at full-quality JPEG is roughly 3GB to 5GB, which is the number that determines your storage plan.
Name files consistently if the client is a business. Commercial and product clients frequently ingest files into a system that expects specific names, and a platform that renames on download breaks that silently.
Test one file through the client-facing download path before delivering a real job.
Cull before you upload, not after. A gallery with 900 frames including near-duplicates makes the client's job harder and yours longer. Deliver the set you would defend.
Step 3: Create and Name the Gallery
Naming matters considerably more than it sounds, because the name you choose usually appears in the URL, in the delivery email subject line, and in the ZIP file your client downloads and keeps.
Use the client name and the date rather than a project code: "Harper Wedding, June 2026" beats "HW26-final-v3". Your client will search their inbox for their own name in eighteen months and find nothing if you named it after your internal system.
If you are delivering per person rather than per job, as headshot photographers do, create one gallery per subject rather than one shared gallery.
This is where gallery caps matter: CloudSpot's cheaper plans stop at three and fifteen galleries respectively, while Framekit and Pixieset place no cap at any tier including free, so per-subject privacy costs nothing.
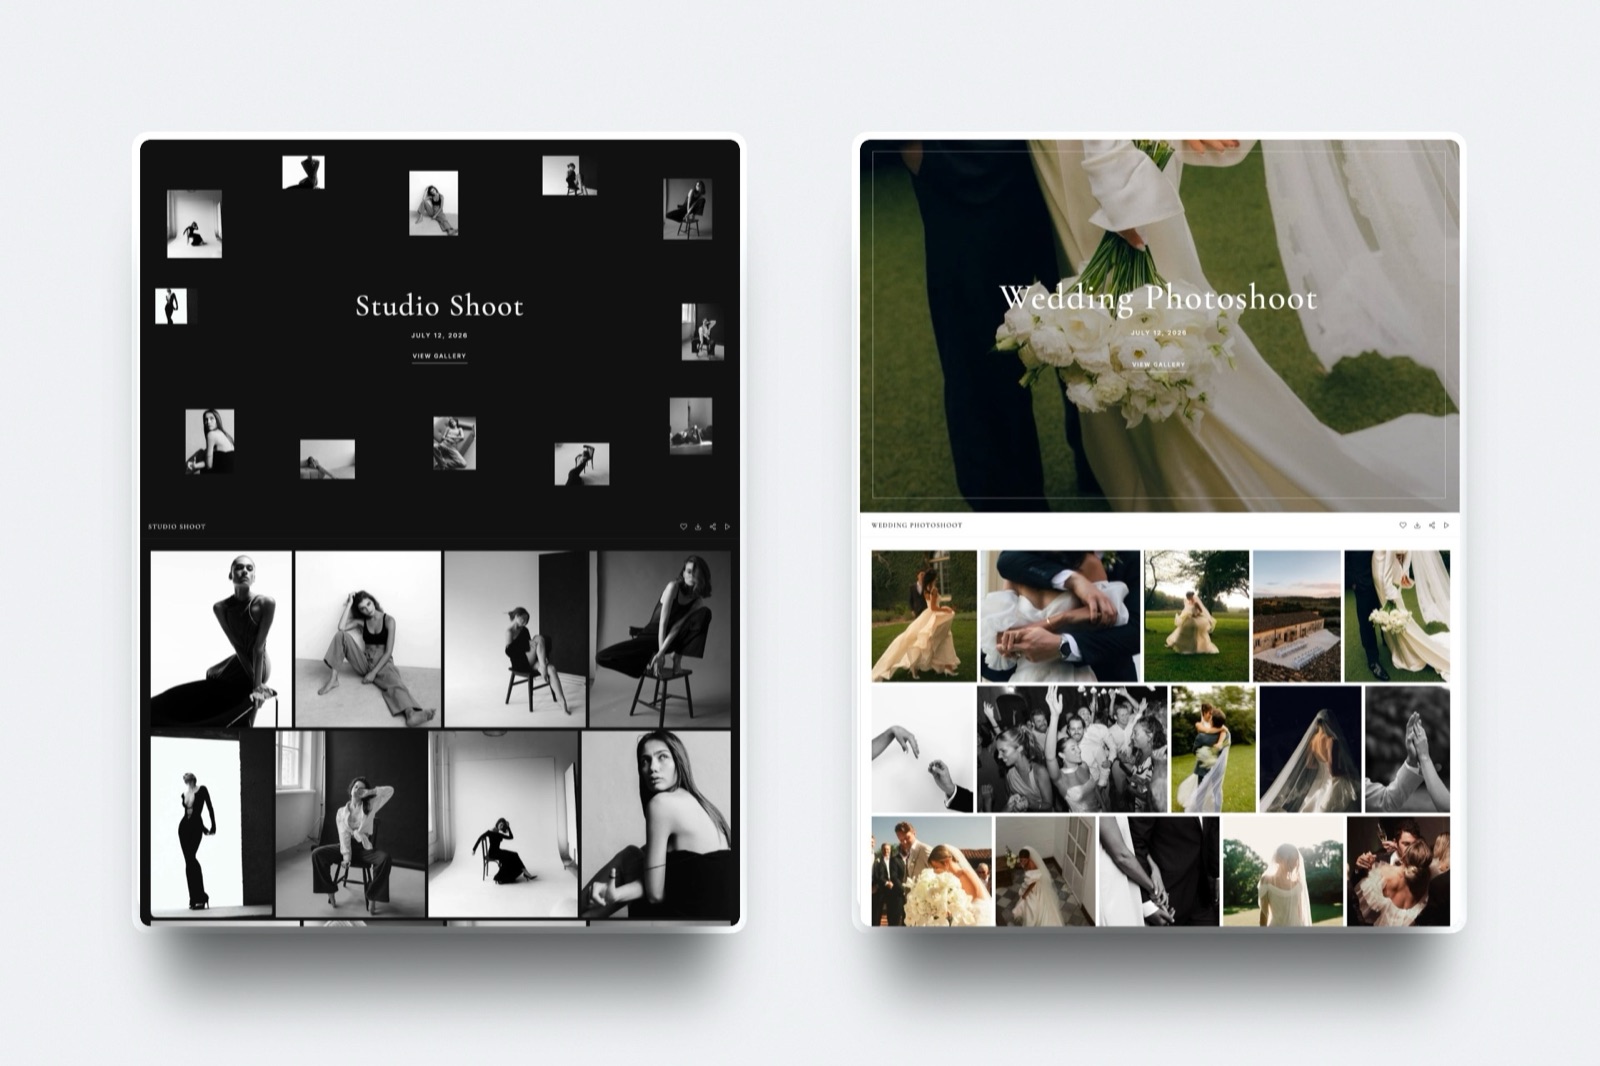
Set a cover image deliberately. It is the first thing the client sees, it appears when the link is shared, and the default is rarely your strongest frame.
Step 4: Set Protection, and Get the Two Settings Right
This is the step where most client galleries go wrong, and the frustrating part is that doing it properly takes about ninety seconds once you know which four settings to look at.
Password or PIN. Set one per gallery rather than reusing a studio password. On Framekit both password and PIN protection are available on every plan including free; on CloudSpot, PicDrop and several others, protection features sit behind a paid tier.
Downloads. Decide explicitly whether the client can download, and at what size.
This is separate from whether they can view, and platforms including Pixieset and ShootProof let you allow web-size files while withholding full resolution. For a proofing round, downloads off; for a final delivery, downloads on.
Watermarking. Watermark proofs, never finals.
Delivering a watermarked final gallery to a paying client is the most common error in this entire workflow, and it happens because the setting carried over from a proofing gallery.
Framekit applies watermarking per gallery on every plan, so proofs and finals can differ without keeping two copies of anything.
Expiry. Set it for proofing rounds and embargoed work. Leave it off for wedding, portrait and brand deliveries, because clients return to those for years and every expired link becomes an email that arrives while you are shooting.
In one linewatermark and expire the proofs, leave the finals clean and permanent.
Step 5: Write the Delivery Message
Four sentences is genuinely enough for a delivery message, and the structure matters more than the wording because most clients read the first line, act on it, and never reach the rest.
Lead with the link. Then the credential, on its own line, in plain text rather than buried in a paragraph.
Then one sentence on how to download, because "click the download button in the top right" prevents more support emails than any other sentence you will write.
Then, if relevant, one line on what happens next, such as a selection deadline or when the gallery will be archived.
Send the credential in the same message unless the work is genuinely sensitive, in which case send the link by email and the PIN by text. Splitting them by default just creates two things for the client to lose.
Most platforms provide branded email templates. Framekit sends branded sharing emails so the notice matches the gallery, which matters because a delivery email from a software company undoes whatever branding you set on the page itself.
Step 6: Follow Up Once, Then Archive
Two small actions close the loop on a delivery, and both of them are easy to skip when the next job is already in front of you, which is why galleries quietly accumulate.
Follow up once after five to seven days if the client has not opened the gallery or has not made their selections. One message, not three. If a selection deadline exists, name the date rather than saying "soon".
Then decide the archive date and tell the client in writing. For proofing galleries, archive after the selection is made.
For final deliveries, keep them live indefinitely if your storage allows, because a wedding couple asking for their photographs in three years is a referral opportunity rather than an inconvenience.
Storage is what makes that possible or not. Framekit runs 10GB free, 50GB on Starter at $9 a month, 300GB on Pro at $19 and 2TB on Business at $39, and galleries are uncapped at every tier, so keeping deliveries live is limited by gigabytes rather than by policy.
What Each Platform Costs to Do This
Costed below for a photographer creating around 40 client galleries a year at roughly 3GB each, which is a typical portrait and wedding workload for a working professional.
| Platform | Entry plan | Galleries allowed | Protection on free | Annual cost |
|---|---|---|---|---|
| Framekit | $9/mo, 50GB | Unlimited on every plan | Yes, all features | $108 |
| Pixieset | About $10/mo, 10GB | Unlimited | Yes | $120 |
| CloudSpot | $7/mo, 15GB | 15 on Entry, 3 on free | Paid tiers | $84, or $204 at Lite |
| ShootProof | About $10/mo, 1,500 photos | Photo-count based | Yes | $120 |
| PicDrop | ~EUR 14.99/mo, 500GB | Unlimited on Pro, 3 free | Paid tiers | About $195 |
Full ladders are published on ShootProof's plans page and CloudSpot's pricing page. Card processing of about 2.9% plus $0.30 applies wherever a client pays for anything.
Frequently Asked Questions
How do I create a client gallery?
To create a client gallery, choose a platform, upload full-resolution files, name the gallery after the client and the date, set a password or PIN, decide separately whether downloads are enabled and whether a watermark applies, add an expiry only if it is a proofing round, then send a short email with the link, the credential and one line of download instructions.
The whole process takes about twenty minutes.
What should I include in a client gallery?
Include the finished, culled set at full resolution, a cover image you chose deliberately, and nothing you would not defend. Do not include near-duplicates or unedited frames, since they make the client's job harder and dilute the work.
For proofing rounds include watermarked previews with downloads disabled; for final delivery include clean files with downloads enabled.
Should client galleries be password protected?
Yes, as a default, and with a separate password per gallery rather than a reused studio credential.
Password protection is available on every professional platform, and on Framekit both password and PIN protection are included on every plan including free.
For sensitive work such as boudoir or embargoed campaigns, add an expiry date and send the credential by a different channel from the link.
How long should a client gallery stay online?
Proofing galleries should close once selections are made, typically after two to four weeks.
Final deliveries for weddings, portraits and brand work should stay live indefinitely if storage allows, because clients return to them for years and expired links become support requests.
Always tell the client the archive date in writing rather than letting a link disappear silently.
Should I watermark a client gallery?
Watermark proofs and never watermark finals.
A watermark on a delivered gallery makes the files unusable for the purpose the client paid for, and it is the most common mistake in this workflow because the setting carries over from a proofing gallery.
Platforms that apply watermarking per gallery, including Framekit and Pixieset, make it easy to keep the two stages separate.
What file size should I deliver to clients?
Full resolution unless your contract specifies otherwise, exported as high-quality JPEG for most client work, with TIFF reserved for clients who asked.
Check your platform's per-file ceiling before delivering large files; Framekit accepts originals up to 100MB per photo. A 900-image wedding at full quality is roughly 3GB to 5GB, which determines the storage plan you need.
How many client galleries can I create?
It depends entirely on the platform, and this is the limit photographers check last and hit first. Framekit and Pixieset place no cap on gallery count at any tier, including free.
CloudSpot allows three galleries free and fifteen on its $7 Entry plan, and PicDrop allows three on its free plan. If you deliver per subject rather than per job, an uncapped platform is close to essential.
Can clients download from a gallery without an account?
They should be able to, and forcing registration is the most reliable way to generate support emails.
Framekit, Pixieset, Pic-Time, PicDrop, ShootProof and CloudSpot all allow full-resolution and ZIP downloads without a client account when configured that way.
Test from a logged-out browser on a phone before delivering, because the account owner's view is never the client's view.
How do I create a client gallery for free?
Every major platform has a free tier, and they differ in what they cap.
Framekit's free plan gives a 10GB pool shared with your website, with unlimited galleries and all protection features included, Pixieset gives 3GB with a 15% commission on store sales, and CloudSpot gives 5GB across three galleries.
Pixieset and CloudSpot each hold roughly one job at full resolution and Framekit two or three, which is enough to deliver professionally on an occasional basis.
What should the gallery delivery email say?
Four sentences: the link, the password or PIN on its own line, one sentence explaining how to download, and one line on what happens next such as a selection deadline or archive date.
Lead with the link rather than with pleasantries, because most clients read the first line and act on it. Branded email templates are worth using so the message matches the gallery.
The Verdict
Creating a client gallery is a twenty-minute job that most photographers do slightly wrong for years, and the two settings responsible are download permissions and watermarking. Fixing those alone removes the majority of the questions that arrive after a delivery.
Beyond that, the decisions worth making deliberately are which platform category you need, whether the gallery lives on your own domain, and whether you are capped on gallery count in a way that will bite when your business changes shape.
Framekit is an AI website builder with client galleries and a digital store built in, and it is the option worth considering when you want galleries uncapped on every plan and delivered from your own site rather than a vendor's, though it has no print lab and no contracts or invoicing.
Do this once before your next job: build a test gallery, open it in a private browser window on a phone, and download a single image as a stranger would. Whatever surprises you in that minute is what your clients have been quietly tolerating.
Related readingclient gallery platforms compared, how to deliver photos to clients, password protected photo sharing tools, and how much client galleries cost.
After the gallery is builtthe follow-up guides cover how to organise client galleries so you can find a photo two years later, how to get clients to download their photos, and how to deliver photos and video together when a job produces both.
Every price, cap and protection setting referenced here was read from the vendors' published pricing pages in August 2026, and the same gallery was built on several platforms to confirm the steps apply generally rather than only to one tool.